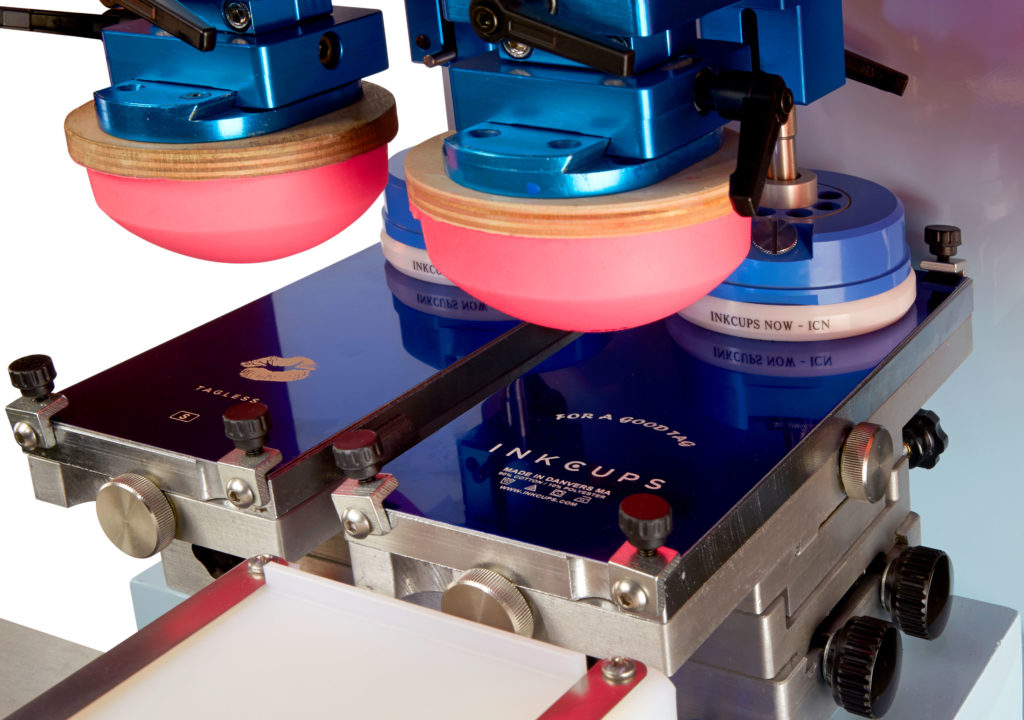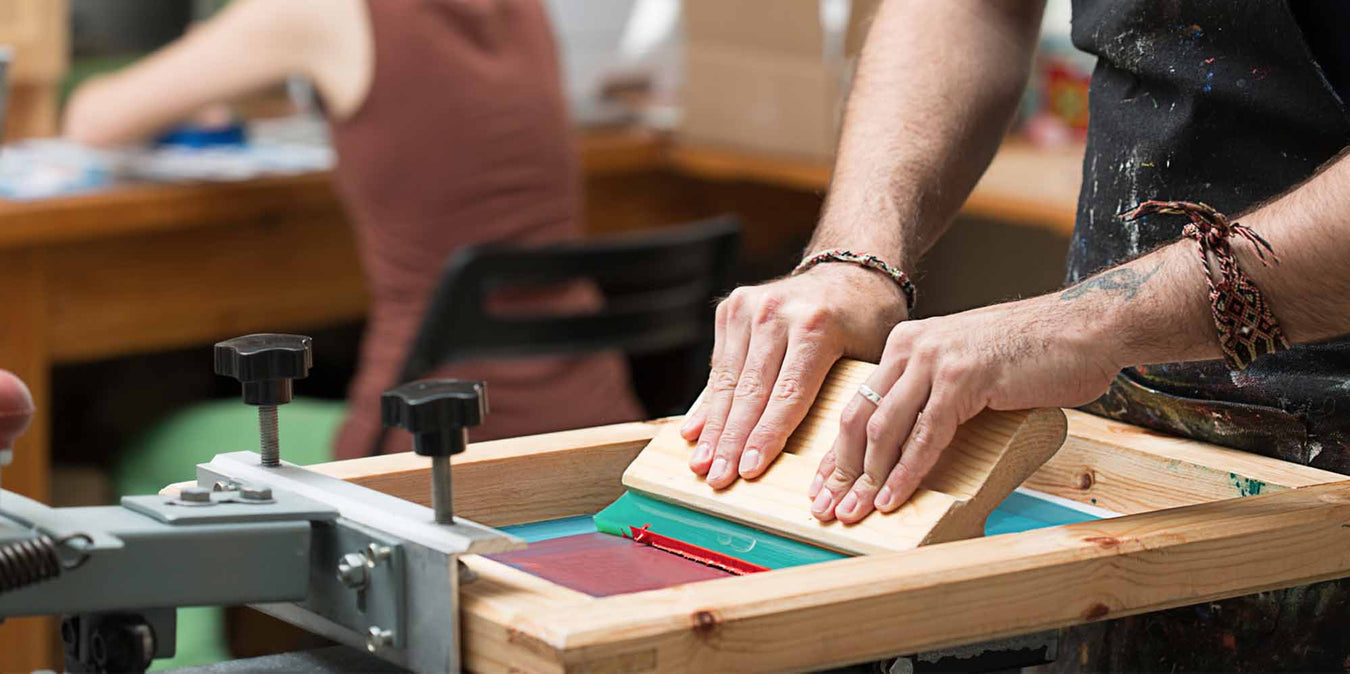
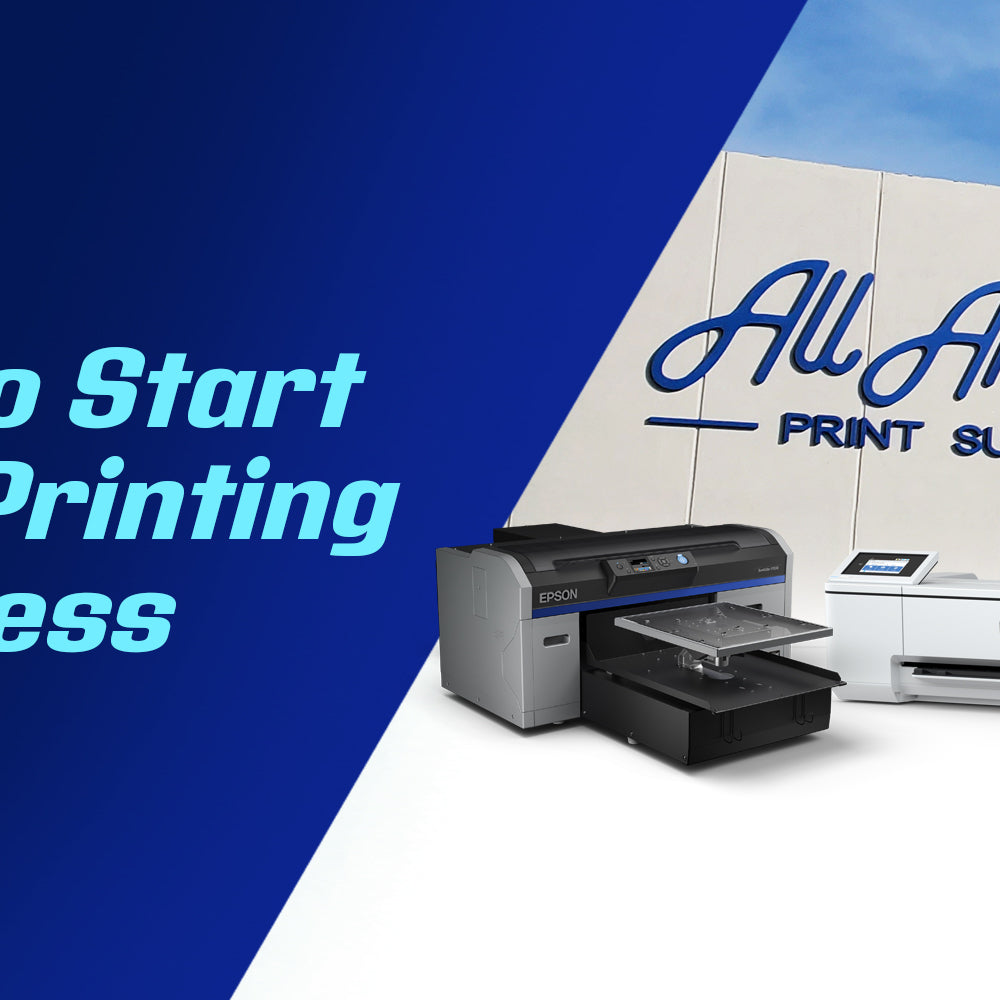
Screen Printing Supply
From Cleaning Supplies to Spare Screens We Have Everything You Need for Your Screen Printing Business!
on eligible orders over $150
on eligible orders over $150

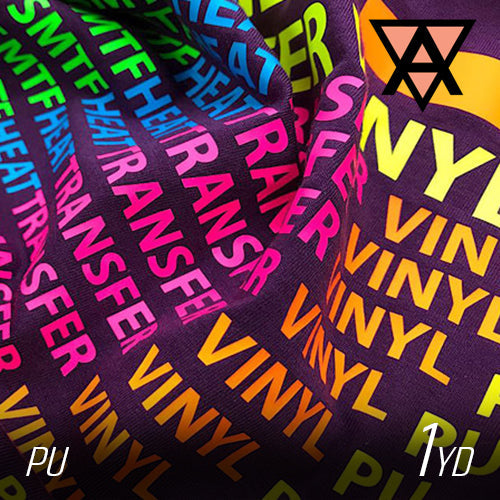
Prisma PU Heat Transfer Vinyl Product Sheet Vivid and various colors, detailed cutting, effortless weeding, and excellent washing resistance are th...
View full details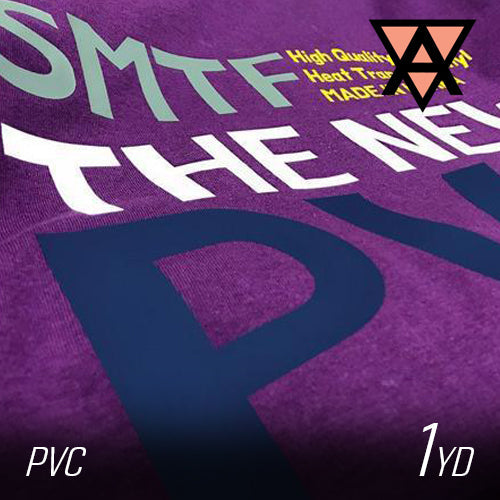
Prisma PVC Warm Peel Heat Transfer Vinyl Product Sheet PVC is a little thicker and high temperature resistant adhesive base PVC vinyl that can hold...
View full details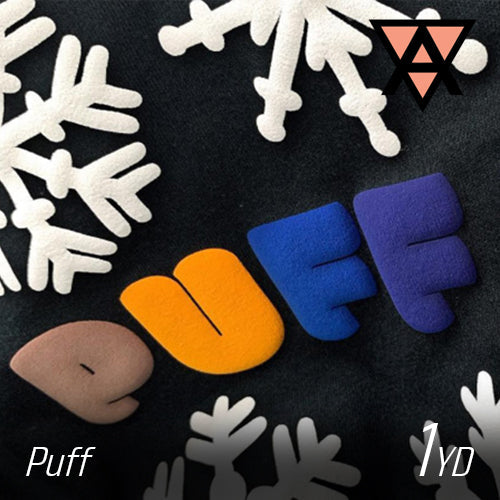
Prisma Puff PU Heat Transfer Vinyl CPSIA Certificate Prisma Puff PU Heat Transfer Vinyl Product Sheet Puff PU is a polyurethane-based foaming vinyl...
View full details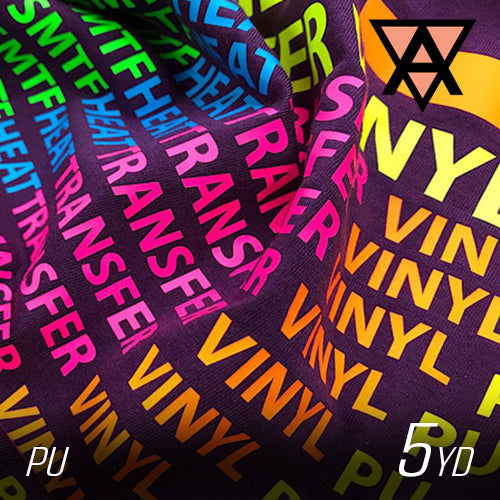 Sale
Sale
Prisma PU Heat Transfer Vinyl Product Sheet Vivid and various colors, detailed cutting, effortless weeding, and excellent washing resistance are th...
View full details
Prisma Glitter Heat Transfer Vinyl Product Sheet Prisma Glitter Heat Transfer Vinyl CPSIA Certificate Very thick PU plotter cut material makes your...
View full details